Cleaning and Preparing Marketing Data for machine learning

Table of Contents

Aim/Objective/Goal

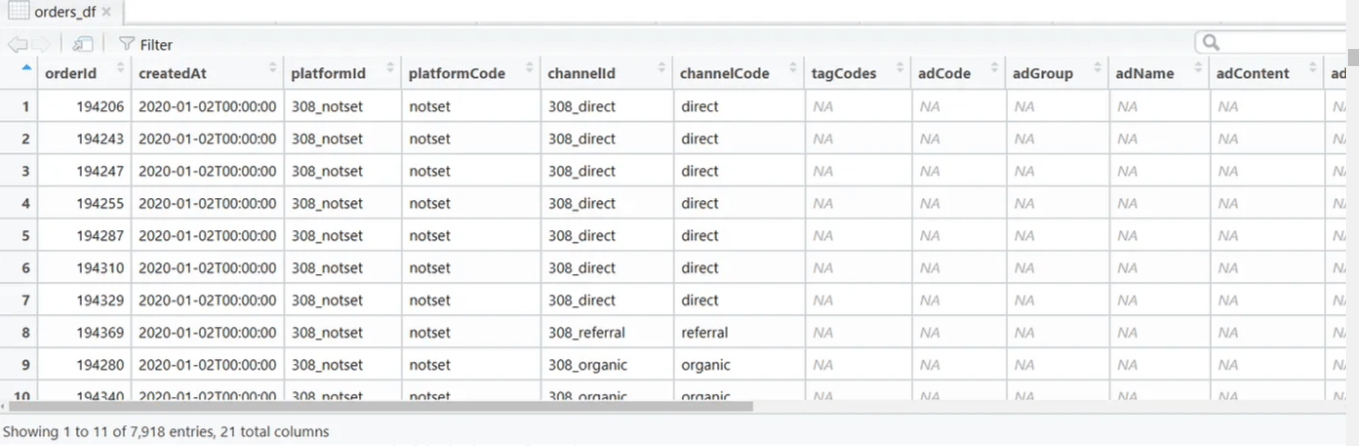
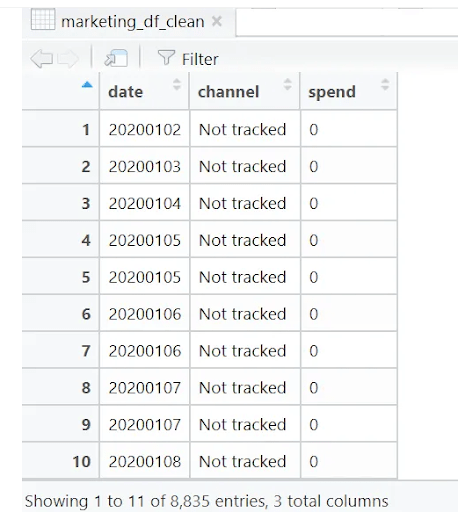
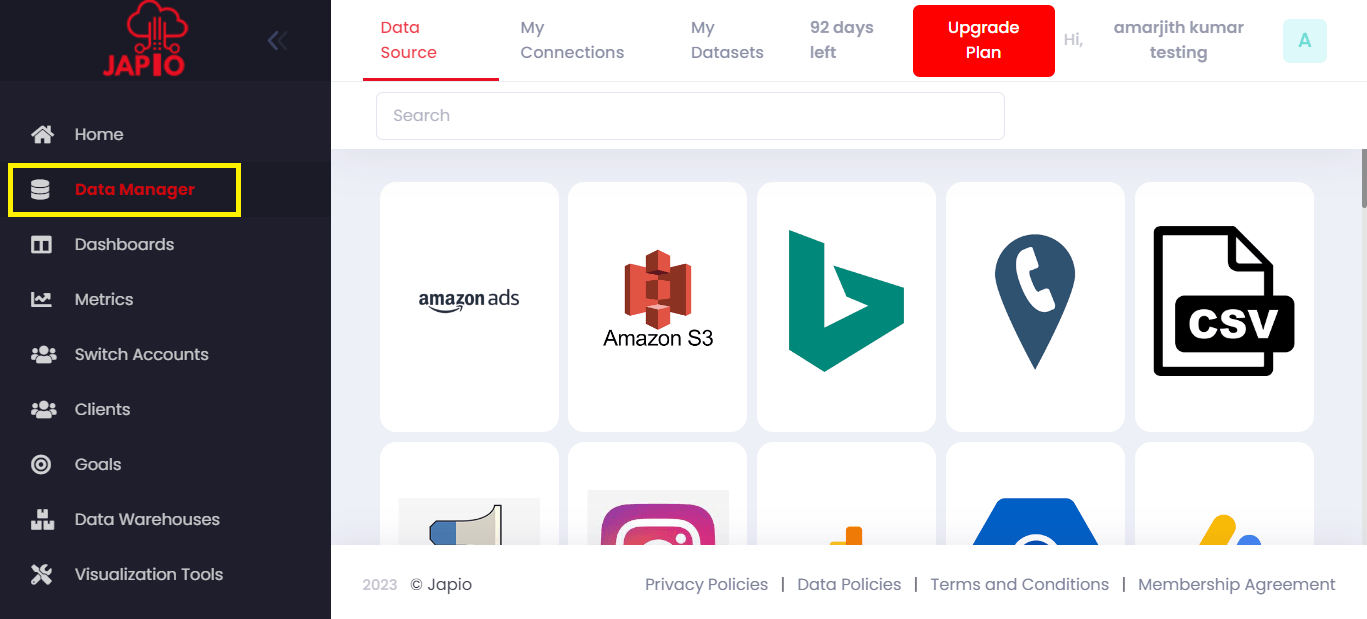
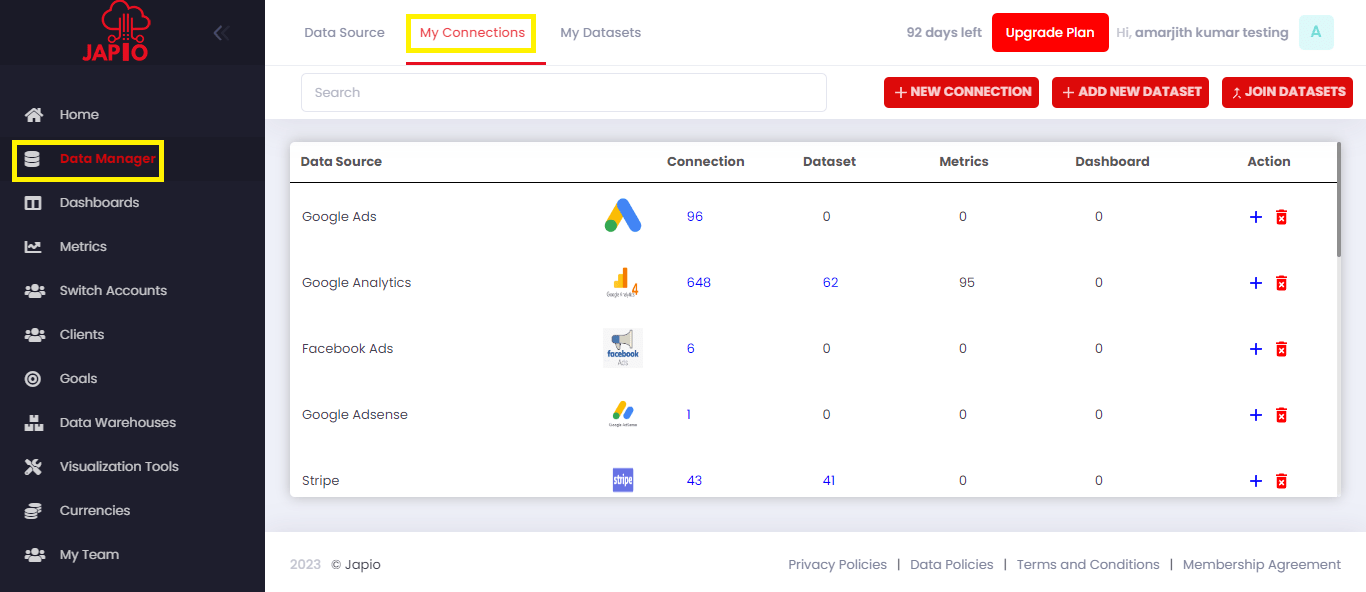
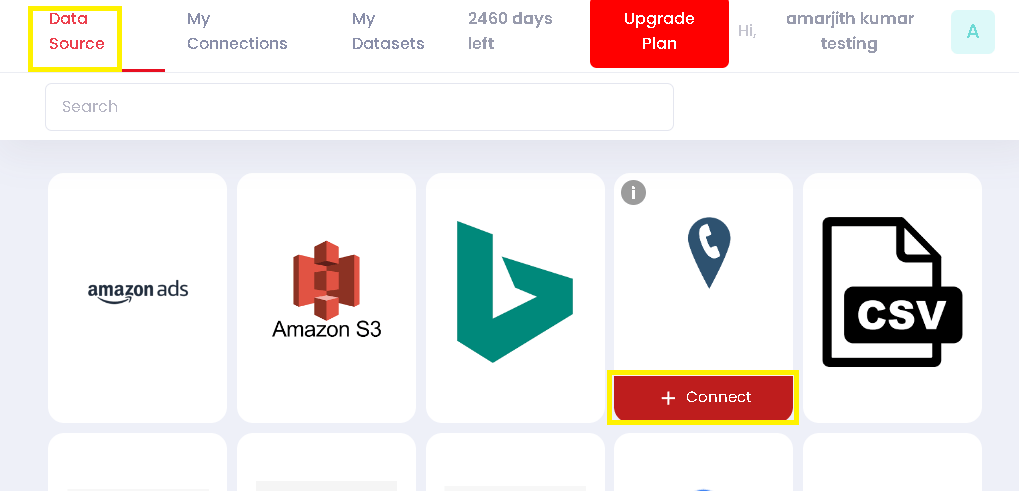
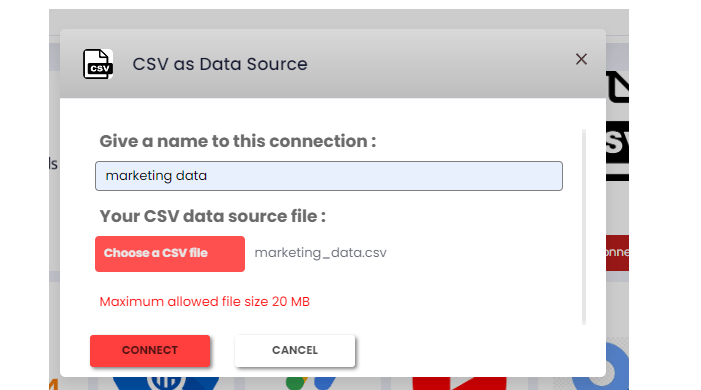
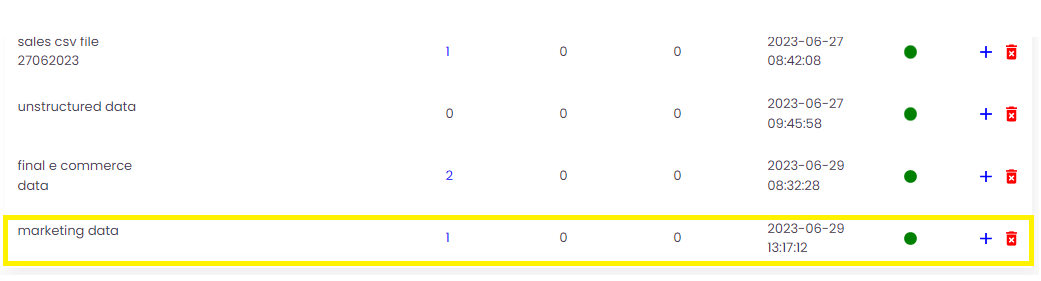
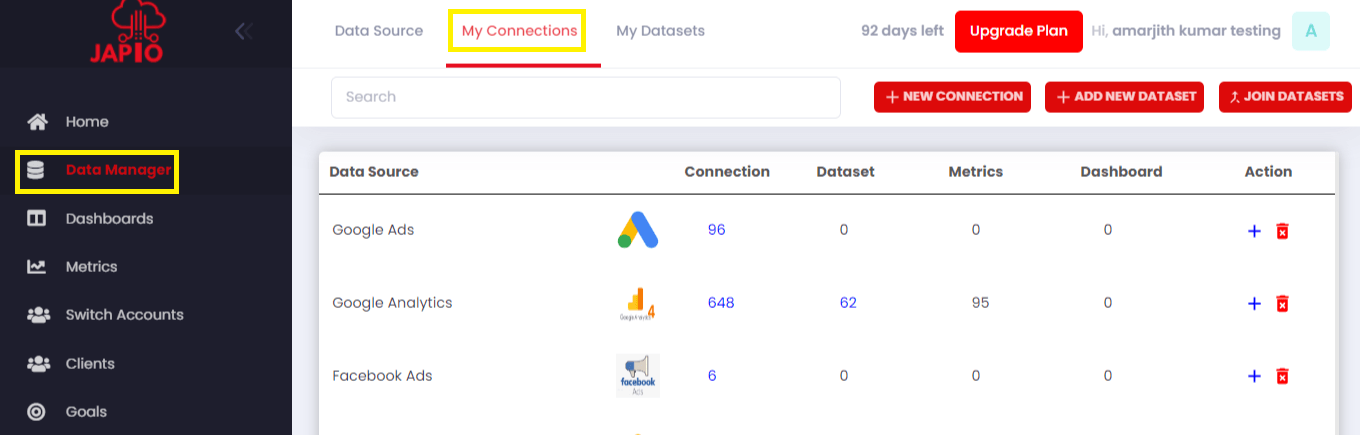
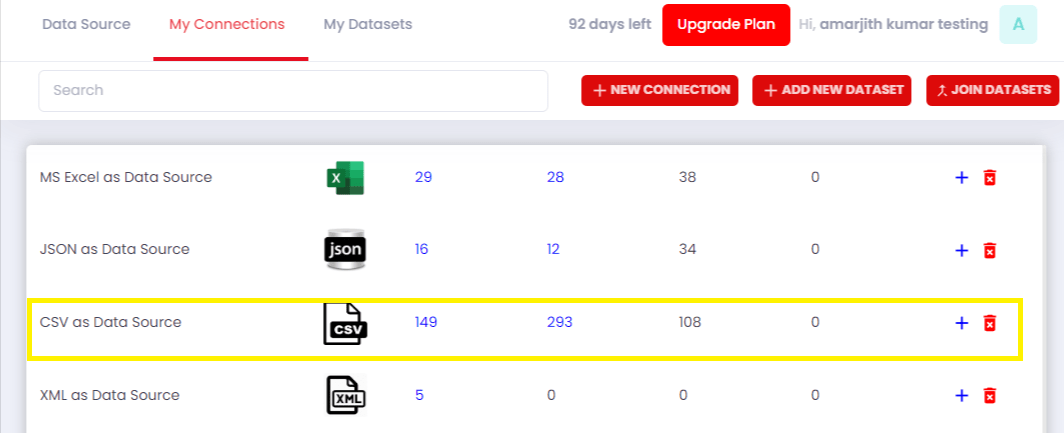
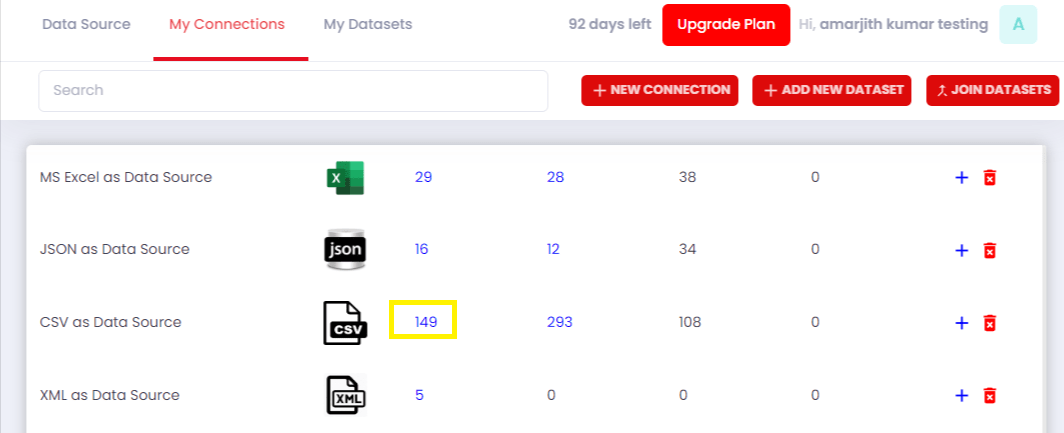
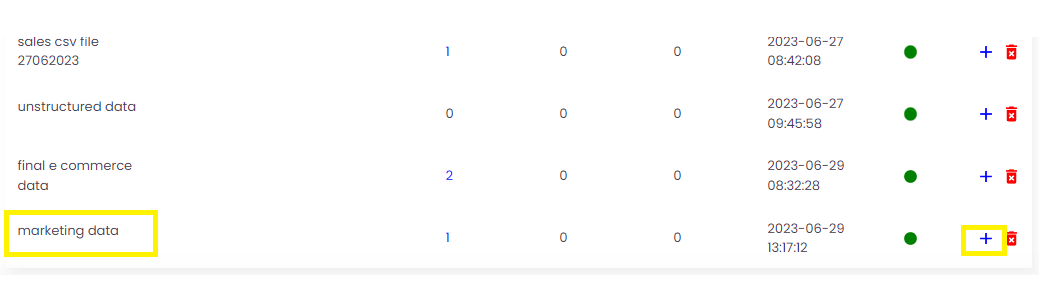
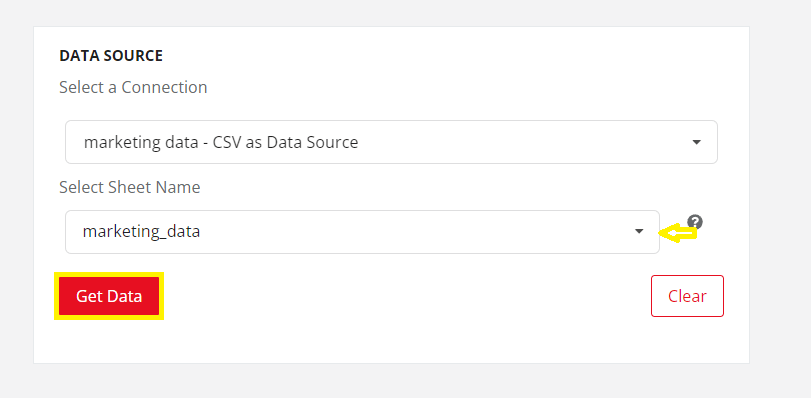
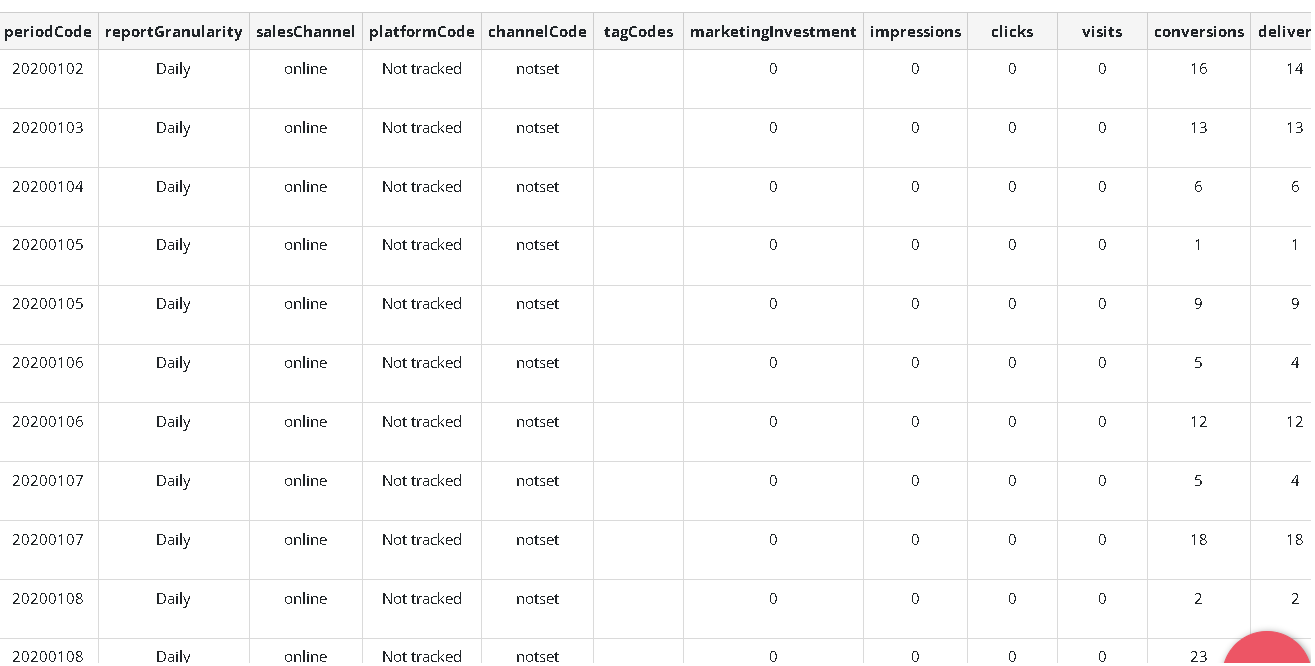
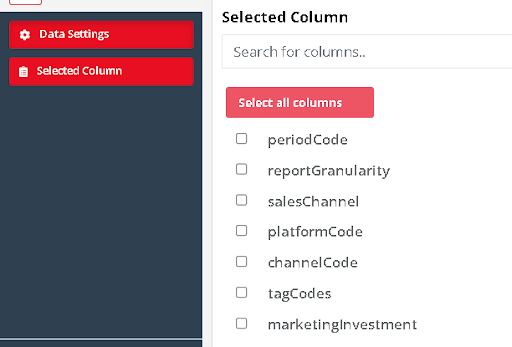
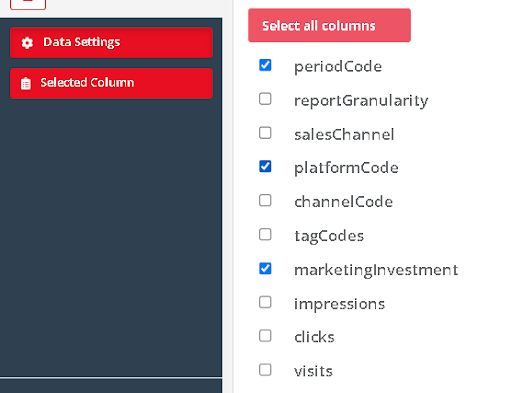
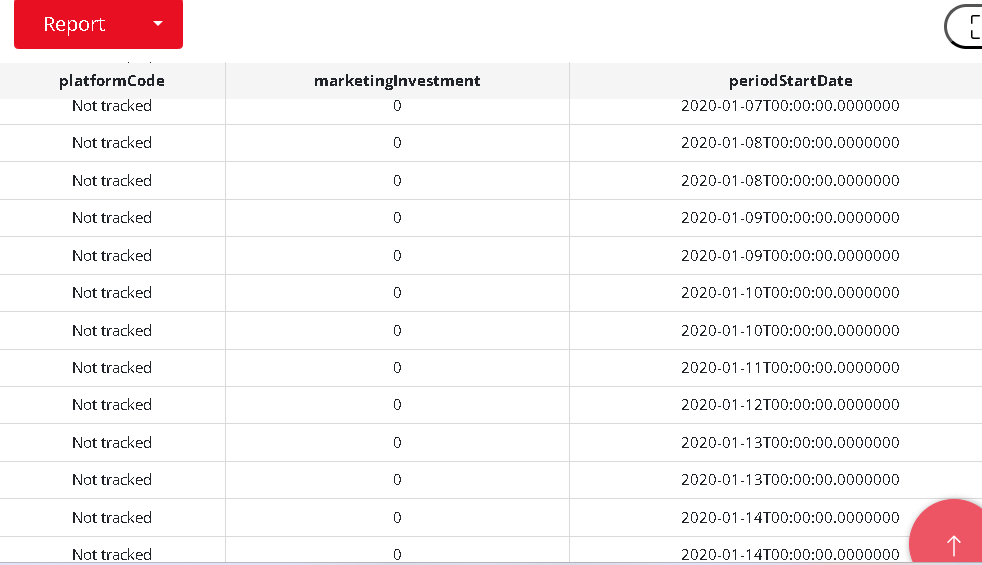
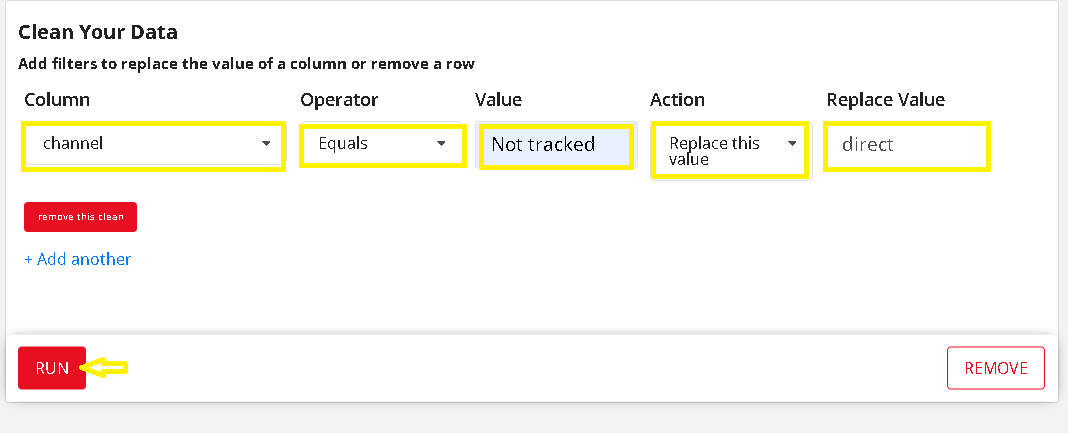
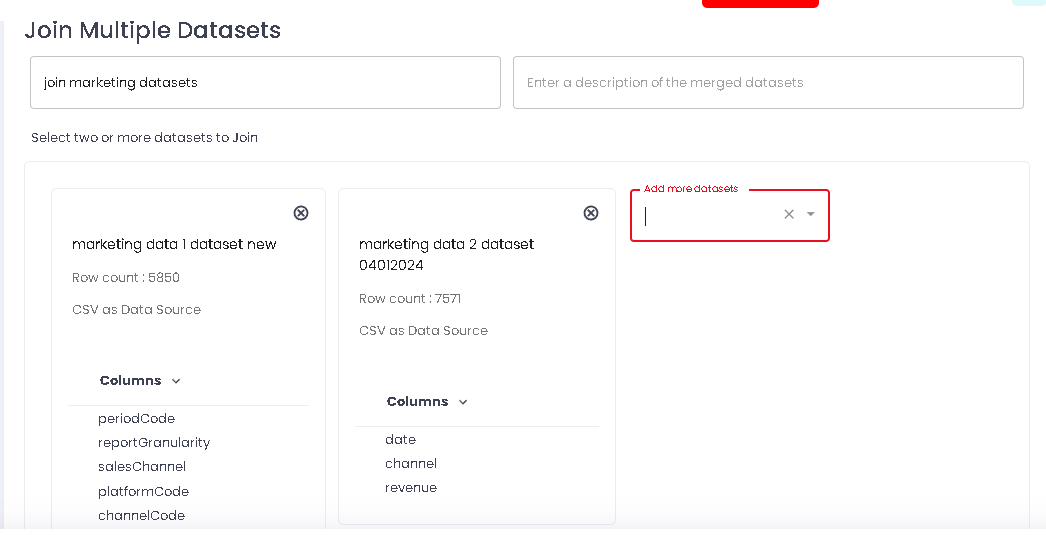
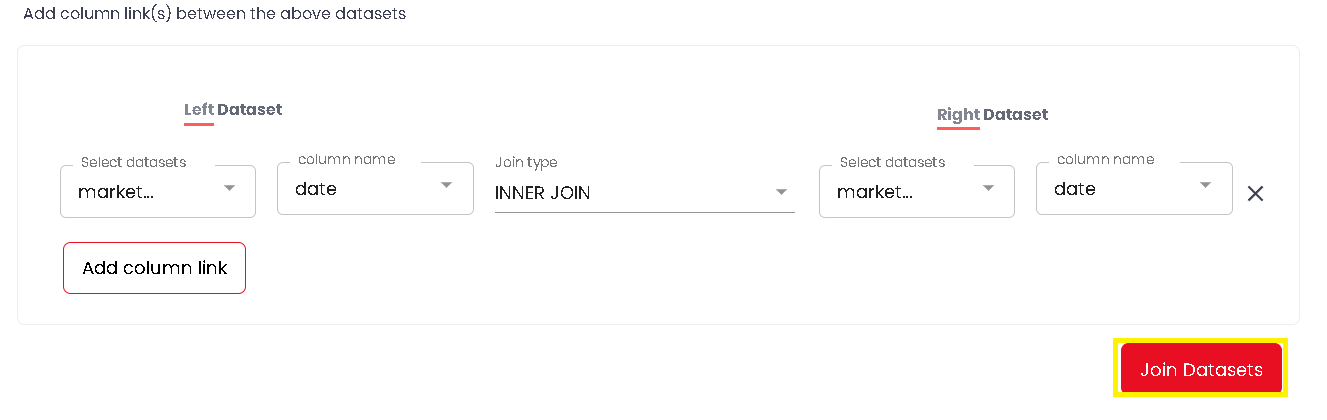
The objective of this case study is to illustrate the process of loading CSV data and preparing it for machine learning using Japio. Users will gain insights into uploading CSV data, utilizing Japio’s features for data preparation and cleaning, and merging two datasets. Through a step-by-step approach, participants will learn to connect diverse data sources, perform necessary transformations, and ready the data for training machine learning models. This case study specifically emphasizes the data cleaning phase, showcasing how Japio facilitates efficient and effective data cleaning. Users can streamline their processes and make informed, data-driven decisions.

				
					#IMPORT DATA

##################################################

#Get marketing data

marketing_df <- read.csv("MarketingReportCoreCSV.csv", fileEncoding="UTF-8-BOM", head = TRUE)

#Lets look at it

View(marketing_df)


Lets load the data again, this time specifying the separator like so

				
					#Yuck. Needs semicolon seperators.
marketing_df <- read.csv("MarketingReportCoreCSV.csv", sep = ';',  fileEncoding="UTF-8-BOM", head = TRUE)
#Check again
View(marketing_df)


					#K. Now do the same for transactions
orders_df <- read.csv("WebTransactionsCSV.csv", sep = ';', fileEncoding="UTF-8-BOM", head = TRUE)
View(orders_df)


Cleaning the marketing data

				
					#PROCESS MARKETING DATA
##################################################

#Keep only the columns we care about

desired_columns <-c(1, 4, 7)
marketing_df_clean <- marketing_df[desired_columns]

#Check
View(marketing_df_clean)

#check class is still data frame
class(marketing_df_clean)

#rename columns names
colnames(marketing_df_clean) <- c("date", "channel", "spend")


Adding, removing and renaming columns ,Finding and replacing strings ,Dealing with different date formatting

				
					#rename "not tracked" to "direct"
marketing_df_clean$channel <- gsub("not tracked","direct",marketing_df_clean$channel)

#rename "unpaid" to "organic"
marketing_df_clean$channel <- gsub("unpaid","organic",marketing_df_clean$channel)

#rename "silverpop" to "email"
marketing_df_clean$channel <- gsub("silverpop","email",marketing_df_clean$channel)
#shorten facebookbusinessadsmanager to just "facebook" as there are no other FB activity in here
marketing_df_clean$channel <- gsub("facebookbusinessadsmanager","facebook",marketing_df_clean$channel)

#check
View(marketing_df_clean)

#set dates to year-month-day using ymd() from lubridate library
library(lubridate)
marketing_df_clean$date <- ymd(marketing_df_clean$date)

#now check the class of this column. must be date
class(marketing_df_clean$date)


Merging different datasets into one

				
					weekly_df <- merge(marketing_df_weekly, orders_df_weekly)
View(weekly_df)


Japio without coding

Loading Data

Step 1

After logging in to the Japio application at https://app.japio.com  , you will find the “Data Manager” option on the left side of the page . Click on the Data Manager to proceed .

Step 2

If you already have a connection on which you want to transform or visualize the data, click on “My Connections” at the top of the page. You will be able to see your existing connections there.

If you don’t have any existing connections, click on “+NEW CONNECTION” located in the top right corner of the page to create a new connection.

Step 3

https://app.japio.com/data-manager/data-source

After clicking on “+NEW CONNECTION” you will be presented with various data sources from which you can fetch your data into Japio. This will enable you to transform and work with your data within Japio’s platform.

Suppose you want to upload a csv file then hover over the CSV data source, and you will see a “+ connect” button as shown below.

Step 4

After clicking on “+ connect” a dialog box will appear

Step 5

After clicking on the “+connect” button, a dialog box will appear where you will be prompted to provide a name for the connection and upload your CSV file. This step allows you to establish the connection between Japio and the selected data source. By filling in the required fields and clicking the “Connect” button, you will initiate the process of importing the data from the CSV file into Japio. This will enable you to perform further analysis and manipulation of the data within Japio’s platform.

After successfully loading the data, you will be redirected to the data connection page in Japio, specifically to the URL: https://app.japio.com/data-manager/data-connections/data-connection/ connector-id. Here, you will be able to see the connection you loaded with the name you provided during the data connection setup. From this page, you can access and work with the loaded data for further analysis, transformation, visualization, or any other desired operations within Japio.

Access of loaded data

To access the data you have loaded into Japio and perform further operations, you can follow these steps:

  1. Click on ” Data Manager >My Connections” to view your connected data sources.

2. Search for the specific data source from which you have loaded your data such as CSV as Data Source.

3. Once you have located the data source, you will see a count or number associated with it, indicating the number of connections.

4. Once you have located the data source, you will see a count or number associated with it, indicating the number of connections.

5. After clicking on the  number of connections, you will be able to see all your connections and access your active connections. From there, choose the specific connection on which you want to transform the data . Click on the “+” symbol. This will allow you to proceed with the data transformation process.

6. After clicking on the “+” symbol, you will be redirected to a page with a URL like “https://builder.japio.com/public/datasetbuilder-view/”  followed by a connection ID. This page allows you to transform your data. Select the required fields and click on “Get Data” to proceed with the data transformation process.

Clean /Transform Data

Access the page “https://builder.japio.com/public/datasetbuilder-view/”  followed by the connection ID by following the steps mentioned in the “Access of loaded data” section.

How we can extract the desired columns like i want to extract the following 3 columns
    • periodStartDate (15th column)
    • platformCode (4th column)
    • marketingInvestment (7th column).
  1. On the page, locate and click on the “+ Add Transform” button, which is located on the left side of the page. This will open up the transformation options as shown below.
transformation rules

2. Click on the selected Column the you will the following

Select the columns as you required

Now click on the RUN button

You will get the data like following

Rename column name :

Following steps will explain how to check  Null values 

  1. click on the  “+ Add Transform” button  and select Rename Column

After this you will get the following interface

2. Select the column from Select Column field and give the name for the column as you want  in the Your Column Name field 

3. Then click on RUN button .

4. You can add more column to rename like following 

5. After clicking on RUN button you will get

Replace Column value with other value

  1. click on the  “+ Add Transform” button  and select Clean

2. After clicking on clean select the required field as the following.

3. In the Action you will get two field to select  

(i) . Remove matching rows 

(ii) Replace this value 

Select any one as per your requirement

4. You can Add more column to replace value  by clicking on “+Add another 

5. Then Click on RUN button and you will get following 

Remove Duplicate value

  1. click on the  “+ Add Transform” button  and select Deduplicate

2. Then click on Run Button  , it will remove all duplicate values 

Save the transform data : 
After transforming data you can save this to a data set , for this follow the Save Transform data into a dataset part . You can create more than one dataset from one connection   

Create another dataset from the marketing data2 04012024 which i have created above


  1. Follow the Access of loaded data  part  

2. We have to extract createdAt (2nd), platformCode (4th) and revenue (18th)

  1.  Now follow How we can extract the desired columns like i want to extract the following 3 columns  part 
  2. Rename column name -> createdAt    as date , platformCode  as channel   – for this follow   Rename column name  part .

5. Rename “notset” to “direct” and “silverpop” to “email from channel column” for this see follow Replace column value with other value part.

6. Save this dataset after adding all transformation rule

Save Transform data into a dataset

To save the transformed data, follow these steps:

  1.  Add all the desired transformation rules to the data as per your requirements.

  2. At the top of the page, on the Japio Dataset Builder interface located at “https://builder.japio.com/public/datasetbuilder-view /” followed by the connector ID, you will find a field where you can enter a title for the dataset. Enter a title in this field to save the dataset with the specified title.

  3. Optionally, you can add a description for the dataset in the provided field (this step is optional but can be helpful for documentation purposes).

  4.  Finally, click on the “Save” button to save the transformed data with the specified title and description.

By following these steps, you will be able to save the transformed data in Japio with a title and an optional description for future reference and usage.

To proceed after saving data instantly .

After clicking on save button , a dialog box will appear within 30-60 seconds.

Click on “Proceed” to navigate to the desired page. If you want to continue transforming your data on the Dataset Builder page, click on “Proceed” for “I want to transform data on the Dataset Builder page” Alternatively, if you want to visualize your data by adding a metric, click on “Proceed” for “I want to add a metric with this dataset”

Download the transformed data for further usages

After you analyzed the data and transformed it, you can now use it wherever you need. For example, you may need this to train a model, use a BI tool like PowerBI or use in Data warehouse. 

To download your transformed data follow the following steps 

  1. Log in to Japio if you haven’t already done so.
  2. Go to the Data Manager section, which is typically located in the sidebar or menu.
  3. Click on “My Datasets” to access your saved datasets. Here, you will see a list of your datasets with the titles you provided when saving the data.
  4. After locating your desired dataset in Japio’s Data Manager > My Datasets section, you should be able to see a download icon. By clicking on this icon you will be able to download the dataset in either JSON format or CSV format, depending on your selection.

Join datasets

To join two datasets follow the following steps 

Step 1:  click on the My Dataset 

Step 2 :  click on JOIN DATASETS 

After clicking on join dataset you will get following screen

  • Give the title of the joined dataset
  • Select two or more datasets which you want to join
  • After that select columns on which you want to join the datasets 
  • Then select join Type

After selecting all required dataset click on Join Dataset .

After joining process it will redirect to http://builderjapio/public/datasetbuilder-view/